(English) How to create Custom Forms
Create polls to gather feedback and collect information from your app users with our new Custom Form feature. With this feature, you can create your own custom form to gain leads or collect information from your app users.
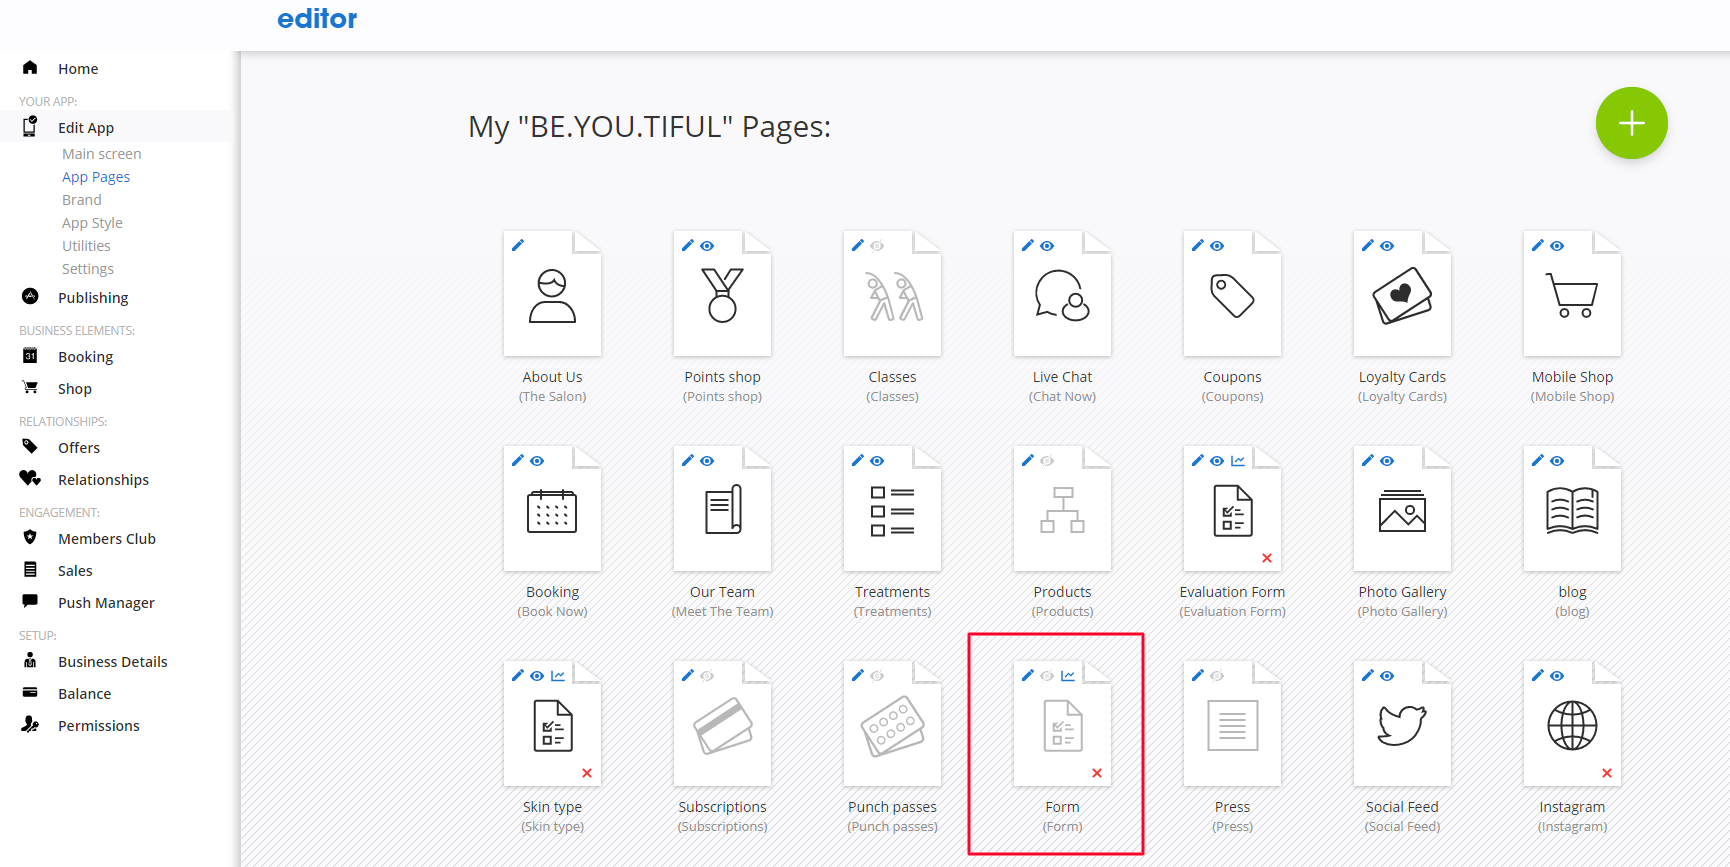
To create a new form, go to the Edit App section from the left menu, and go to App Gapes. Click the plus icon and add a form.


Create a custom form with these 5 main elements:
- Short answer (Ex. Name or Email)
- Paragraph (long answer)
- Date
- Checkbox (Agree or Disagree)
- Dropdown (select one answer out of several options)
You can edit the form once it’s been published and choose whether a field is required or not!

In the Form Settings tab you can change the name of the page in the workspace and mobile app, change the thumbnail image (Learn how to add an image) and add a description.

When you are done, click save. You can also delete the form by clicking the “Garbage” icon” or hide the form by clicking the “eye” icon.
In the “Filled Forms” section, you can see who and when they filled the form

and see the answers provided by the client:

In the “Form Analytics” section, you can view the statistical information regarding your form:


Choose the placement of the form and how clients will access it. You can choose to place the form on the main screen or as a part of the Utilities section (the navigation bar).

 Your clients will fill out the form and send it to you.
 Clients can see the form under their Members Zone (My Account), under the Documents tab. They can fill it out as many times as they want.
![]()